Installing Tellstick Windows Drivers
In order for NetHome to be able to communicate with the Tellstick transceiver, you must install drivers that make the Tellstick appear as a COM-port. These drivers are available from FTDI, but since the Tellstick device has its own product id, we must modify the installation files a bit so it also accepts this id as a serial port. Unfortunately this small change breaks the signing of the drivers which makes the installation a bit more messy. The instructions below are for Windows 7, but should work for all versions of Windows except 64 bit version of Windows 8. Unfortunately Microsoft have removed the possibility to install unsigned drivers in this version. We are working on a solution for this problem.
The modified drivers are available in the NetHome-release under the drivers\windows\FTDI_VCP-folder.
Installation steps
1. Open the folder drivers\windows\FTDI_VCP in the NetHome distribution and run the setup.exe file.
2. Windows will warn that the drivers are not signed (twice), but choose the option to install anyway.
3. Plug in the Tellstick in an USB port. Windows will find and install the Tellstick Serial Converter
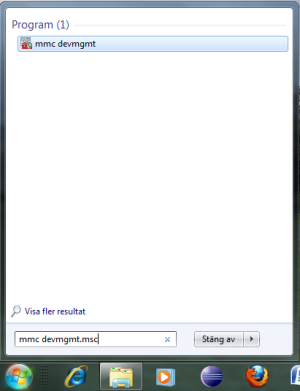
4. Open the device manager window. This can be done for example by typing “mmc devmgmt.msc” in the search field in the start menu:
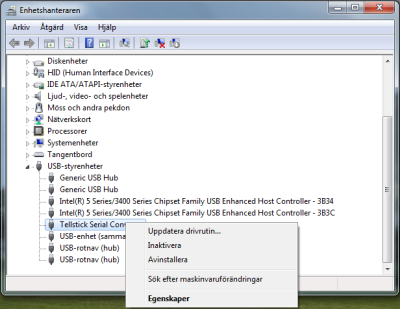
5. In the bottom section you will now see the Tellstick Serial Converter. Right click on it and select properties:
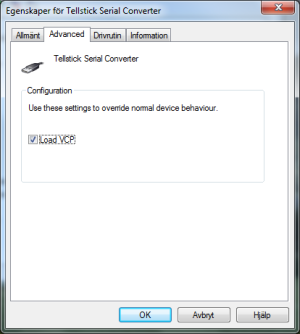
6. In the “Advanced”-tab, check the “Load VCP” checkbox and press ok.
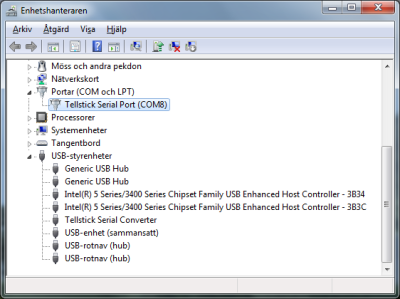
7. Unplug the Tellstick and plug it in again. Windows will now discover the serial port and install the driver. In the Ports-section there should now be a serial port called Tellstick Serial Port. Take note which com port number it was assigned (COM8 for example) as this is the name you will use in NetHomeServer.


